While Delta Executor has earned its reputation as the go-to Roblox script executor on mobile platforms, the Windows PC version offers an entirely different level of power. Larger screen real estate, faster processing, keyboard shortcuts, and the ability to run multiple instances simultaneously make the desktop experience something that serious scripters gravitate toward naturally. This guide walks you through every step of getting Delta Executor PC up and running on your Windows machine, from verifying system requirements to optimizing performance for lag-free script execution.
Whether you are migrating from mobile or setting up a script executor on PC for the first time, the process is straightforward once you understand what to expect. By the end of this walkthrough, you will have a fully configured Delta Executor installation tuned for your hardware and ready to handle anything from simple quality-of-life scripts to complex multi-function automation suites.
System Requirements for Delta Executor PC
Before downloading anything, confirm that your Windows system meets the minimum and recommended specifications. Running Delta Executor on hardware that falls below the minimum threshold will result in crashes, injection failures, or scripts that execute at a fraction of the expected speed.
Minimum Requirements
- Operating System: Windows 10 version 1903 or later (64-bit only)
- Processor: Intel Core i3-6100 or AMD Ryzen 3 1200 equivalent
- RAM: 4 GB (8 GB recommended)
- Storage: 500 MB free disk space for installation and cache
- Graphics: DirectX 11 compatible GPU
- .NET Framework: Version 4.7.2 or higher (ships with Windows 10 1803+)
- Internet: Stable broadband connection for updates and key verification
Recommended Specifications
- Operating System: Windows 11 (latest build)
- Processor: Intel Core i5-10400 or AMD Ryzen 5 3600
- RAM: 16 GB
- Storage: SSD with at least 1 GB free
- Graphics: NVIDIA GTX 1650 or AMD RX 570
If your system sits between these two tiers, you will still have a functional experience, but heavier scripts involving ESP overlays or complex GUI elements may cause occasional frame drops in Roblox while the executor processes instructions.
Downloading Delta Executor for Windows
The only source you should trust for the Delta Executor PC installer is the official Delta Exploits PC download page. Third-party websites claiming to host Delta Executor downloads often bundle adware, cryptocurrency miners, or outright malware with modified installers. The official download is always free, always clean, and always the latest stable version.
Navigate to the download page and click the Windows download button. The file you receive will be named something like DeltaExecutor-Setup-v2.x.x.exe with a size typically between 40 and 60 megabytes. Before running the installer, right-click the file, select Properties, and verify the digital signature if available. This extra step confirms the file has not been tampered with during transit.
Always download Delta Executor from the official site. Unofficial mirrors and repacked versions are the single largest source of malware reports associated with script executors.
Installation Steps
With the installer downloaded, the setup process follows a clean, linear path. Close Roblox if it is currently running. Having the game open during installation can create file lock conflicts that prevent Delta Executor from registering its components properly.
- Run the installer: Double-click the downloaded file. If Windows SmartScreen displays a warning, click "More info" and then "Run anyway." This warning appears because the executable is not signed by a publisher that Microsoft has whitelisted, which is common for niche software tools.
- Accept the license agreement: Read through the terms, then check the acceptance box and click Next.
- Choose installation directory: The default path is
C:\Program Files\DeltaExecutor. You can change this, but avoid paths with special characters or excessively deep directory nesting. A path likeD:\Tools\DeltaExecutorworks perfectly. - Select components: Unless you have a specific reason to change the defaults, leave all components checked. The core executor engine, script library integration, and auto-updater are all essential for a smooth experience.
- Complete installation: Click Install and wait for the progress bar to finish. The process typically takes under thirty seconds on an SSD and around a minute on a traditional hard drive.
Once the installer finishes, do not launch Delta Executor immediately. There is one critical configuration step that prevents almost every common issue new users encounter: configuring your antivirus software.
Windows Defender and Antivirus Exclusions
Script executors operate by injecting code into running processes, which is a technique that antivirus software is specifically designed to flag. This does not mean Delta Executor is malicious. It means the method of operation triggers heuristic detection rules. Without proper exclusions, Windows Defender or your third-party antivirus will quarantine essential Delta Executor files, causing injection failures, crashes on launch, or complete removal of the application.
Adding Windows Defender Exclusions
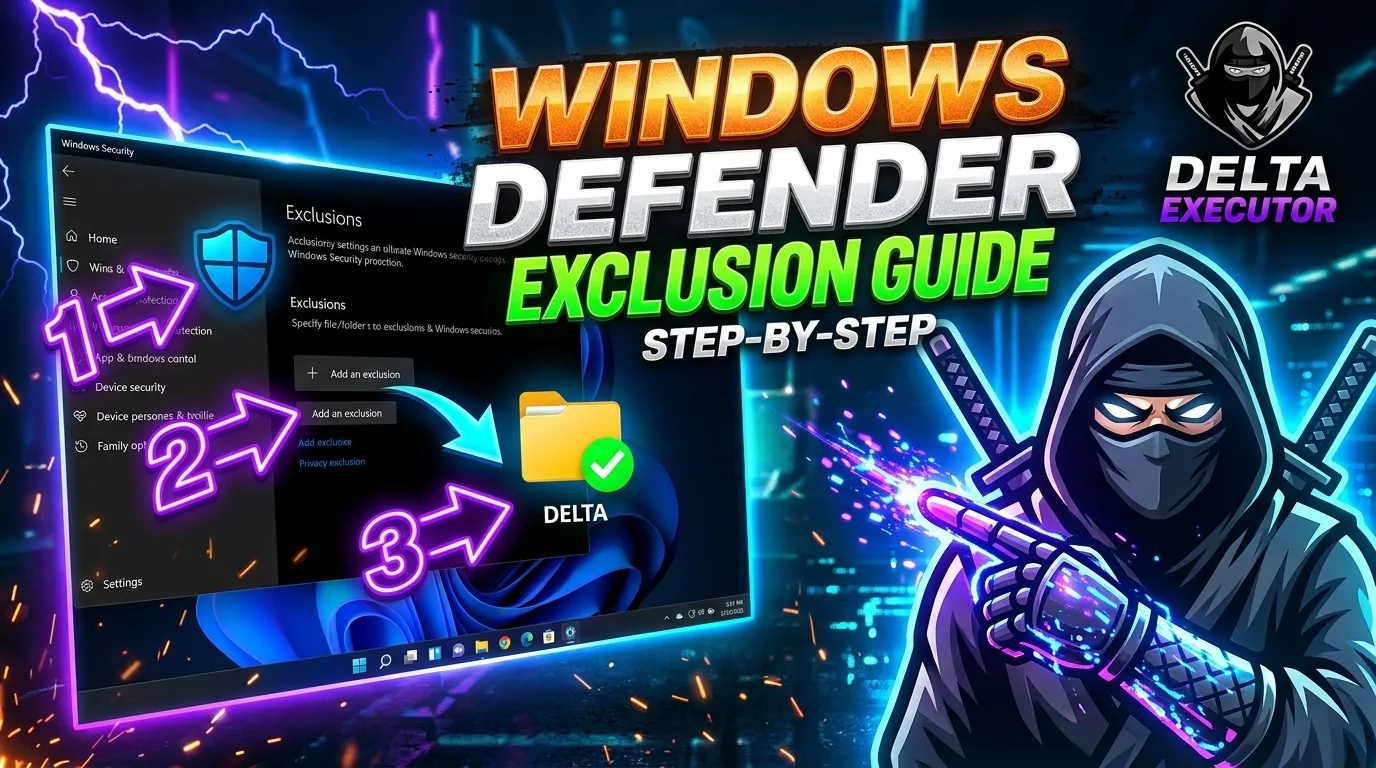
- Open Windows Security from the Start menu.
- Click Virus & threat protection.
- Scroll down to "Virus & threat protection settings" and click Manage settings.
- Scroll to Exclusions and click "Add or remove exclusions."
- Click Add an exclusion, choose Folder, and navigate to your Delta Executor installation directory.
- Add a second exclusion for the Delta Executor cache folder, typically found at
%AppData%\DeltaExecutor.
If you use a third-party antivirus such as Norton, Bitdefender, or Kaspersky, consult that software's documentation for adding folder exclusions. The principle is the same: whitelist both the installation directory and the AppData cache folder. For a deeper look at safety considerations and what Delta Executor actually does with system access, read our article on whether Delta Executor is safe.
First Launch and Key System
Launch Delta Executor from the desktop shortcut or Start menu entry. On the first run, the application performs a one-time initialization that downloads additional runtime libraries and verifies your license key. This process requires an active internet connection and usually completes within ten to twenty seconds.
The key system is straightforward. You will be presented with a key link that opens in your default browser. Complete the brief verification process, copy the generated key, and paste it back into Delta Executor. Keys are valid for a set period (typically 24 hours), after which you will need to generate a new one. This system keeps the service free while funding ongoing development and server costs.
Once your key is validated, Delta Executor transitions to the main dashboard. If you encounter any issues during this step, our troubleshooting guide covers every common key-related error and its solution.
UI Walkthrough: Understanding the Dashboard
The Delta Executor PC interface is divided into several functional areas, each designed to streamline a specific part of the scripting workflow.
Script Editor
The central panel is a full-featured code editor with Lua syntax highlighting, line numbering, and auto-indentation. You can open multiple scripts in tabs, making it easy to switch between different scripts without losing your place. The editor supports standard keyboard shortcuts: Ctrl+Z for undo, Ctrl+S to save the current script locally, and Ctrl+A to select all text.
Script Hub
The left sidebar provides access to the built-in script hub, which contains a curated collection of popular and recently updated scripts organized by game and category. You can search by game name, script name, or function type. Clicking a script loads it directly into the editor, where you can review the code before executing it. For recommended scripts to try first, check out our list of the best Roblox scripts for Delta Executor.
Console Output
The bottom panel displays execution feedback, error messages, and print output from running scripts. This is invaluable for debugging. If a script fails silently in the game, the console often reveals the underlying error, whether it is a nil reference, an API call to a service that the script does not have access to, or a syntax error that the editor did not catch.
Settings Panel
Accessible through the gear icon, the settings panel controls injection method, auto-attach behavior, script execution timeout, and visual preferences like editor theme and font size. We will cover the most impactful settings in the optimization section below.
Loading and Running Your First Script
With the interface understood, executing a script follows a simple three-step process.
- Launch Roblox: Open Roblox through the Roblox website or desktop app and join any game.
- Attach Delta Executor: Once you are in a game and your character has loaded, return to Delta Executor and click the Attach button. A successful attachment is confirmed by a status indicator turning green and a console message reading "Attached successfully."
- Execute your script: Paste or type your Lua script into the editor and click Execute (or press F5). The script runs immediately within the game context.
Start with something simple to verify the pipeline works. A basic print statement or a notification script confirms that injection, execution, and game interaction are all functioning correctly before you move to more complex scripts.
Performance Optimization
Out of the box, Delta Executor runs well on recommended-spec hardware. But a few targeted adjustments can meaningfully improve responsiveness, especially on machines closer to the minimum requirements or when running resource-intensive scripts.
Reduce Roblox Graphics Settings
Roblox and Delta Executor share system resources. Lowering Roblox's graphics quality from automatic to a fixed level (5 or 6 for most machines) frees up GPU headroom and reduces the chance of frame hitches during script injection. In Roblox's settings menu, disable shadows and post-processing effects if you are purely focused on scripting rather than visual quality.
Close Background Applications
Browser tabs, streaming software, and other memory-heavy applications compete with both Roblox and Delta Executor for RAM. On an 8 GB system, closing Chrome alone can free up one to three gigabytes depending on how many tabs you have open. Task Manager (Ctrl+Shift+Esc) is your best tool for identifying memory hogs.
Enable Hardware Acceleration
In Delta Executor's settings, ensure that hardware acceleration is enabled. This offloads rendering of the script editor and UI elements to the GPU, reducing CPU load and keeping the interface responsive even while heavy scripts are executing.
Set Process Priority
For demanding scripts, you can set Delta Executor's process priority to "Above Normal" in Task Manager. Right-click the Delta Executor process, hover over "Set priority," and select "Above Normal." Avoid setting it to "High" or "Realtime," as this can starve other system processes and cause instability.
Use an SSD
If Delta Executor is installed on a traditional hard drive, consider moving it to an SSD. Script loading times, cache operations, and auto-update downloads all benefit significantly from faster read/write speeds. The difference is particularly noticeable when loading large scripts from the script hub.
Multi-Instance Setup
One of the unique advantages of running Delta Executor on PC is the ability to operate multiple Roblox instances simultaneously, each with its own attached executor. This is useful for testing scripts across different game environments, running utility scripts on an alternate account while playing on your main, or managing multiple game sessions at once.
To run multiple instances, you will need a Roblox multi-instance tool (several free options exist in the community) and enough system resources to handle the additional load. Each Roblox instance typically uses 1 to 2 GB of RAM and a portion of CPU and GPU resources. A system with 16 GB of RAM and a mid-range GPU can comfortably handle two to three simultaneous instances.
Launch each Roblox instance, join your target games, then open a separate Delta Executor window for each one. Attach each executor window to its corresponding Roblox process. The attach dialog will show multiple Roblox processes when more than one is running, allowing you to select the correct one by process ID or window title.
Recommended Settings for Different Use Cases
Casual Scripting
Leave most settings at their defaults. Enable auto-attach so that Delta Executor connects to Roblox automatically when a game loads. Set the execution timeout to 30 seconds. Use the default injection method.
Script Development
Increase the editor font size to 14 or 16 for extended coding sessions. Enable the mini-map in the editor for quick navigation through longer scripts. Turn on verbose console logging to capture detailed execution traces. Disable auto-attach so you control exactly when injection occurs during testing.
Performance-Critical Execution
Disable unnecessary UI animations in Delta Executor's settings. Close the script hub sidebar to reduce memory usage. Set process priority to Above Normal. If running ESP or rendering-heavy scripts, lower Roblox graphics to level 3 or 4.
Troubleshooting Common PC Issues
Even with careful setup, you may encounter issues. Here are the most frequent problems and their solutions.
Injection Failure After Roblox Update
Roblox updates its client regularly, and each update can temporarily break executor injection. When this happens, Delta Executor's development team typically releases a patch within hours. Check for updates by clicking the update button in the executor or by revisiting the download page for the latest version.
Crash on Launch
This almost always traces back to antivirus interference. Verify that your exclusions are still in place, as Windows Defender sometimes removes exclusions after major Windows Updates. If the crash persists, try running Delta Executor as administrator by right-clicking and selecting "Run as administrator."
"Failed to Attach" Error
This error means Delta Executor cannot find or access the Roblox process. Confirm that Roblox is running and that you are fully loaded into a game (not sitting on the home screen or loading screen). If you are using a VPN, try disconnecting it temporarily, as some VPN configurations interfere with local process communication.
Scripts Execute but Nothing Happens
Check the console output for errors. The most common culprit is an outdated script that references game objects or services that have been renamed or removed in a Roblox update. Visit Roblox's developer documentation to verify that the APIs your script uses are still current.
High CPU Usage
Some scripts, particularly those with tight loops or frequent remote calls, can spike CPU usage. Add small delays (task.wait() calls) inside loops to give the CPU breathing room. If a script consistently causes high CPU load, it may need optimization or a different approach to achieve its goal.
Windows Firewall Blocking Connections
Delta Executor needs network access for key verification and updates. If Windows Firewall prompts you to allow access, click Allow. If you accidentally blocked it, open Windows Firewall settings, find Delta Executor in the list of apps, and change its status to Allowed for both private and public networks.
For a comprehensive walkthrough of every known issue and its resolution, visit our dedicated fix Delta Executor not working guide.
Keeping Delta Executor Updated
The auto-updater handles most version transitions seamlessly. When a new version is available, Delta Executor will notify you on launch and offer to download and install the update. Accept these updates promptly, as they often contain compatibility patches for the latest Roblox client version, security improvements, and new features.
If the auto-updater fails (usually due to a network issue or file permission conflict), manually download the latest installer from the official site and run it over your existing installation. Your settings, saved scripts, and preferences are preserved during the upgrade.
Final Thoughts
Delta Executor PC brings the full power of desktop computing to Roblox script execution. The larger interface, keyboard-driven workflow, and multi-instance capability make it the preferred platform for users who spend significant time developing, testing, or running scripts. The setup process requires a few extra steps compared to the mobile versions, particularly around antivirus configuration, but those steps pay dividends in reliability and performance.
If you are new to Delta Executor entirely, start with our overview of what Delta Executor is to understand the broader ecosystem before diving into the PC-specific features. And if you want to explore what scripts can do once your setup is complete, our guide to the best scripts for Delta Executor will get you started with curated, tested options across dozens of popular Roblox games.
Download Delta Executor for PC
Get the latest Windows version with one-click installation, auto-updates, and full script hub access.
Download for Windows